
If you have ever woken up with a knot between your shoulder blades and spent the whole day trying to roll your shoulders to get rid of it, you know the feeling. You have tried stretching against a doorframe, asking your spouse to push on the spot, maybe even a massage gun. Some of it helps for an hour. Then the stiffness creeps back by dinner. I am Glen Haverford, 56, a retired letter carrier who walked a route for 27 years, and I have spent the last decade testing things in my living room and garage gym to keep my own back from seizing up. The 321 STRONG Foam Roller is the tool I keep coming back to when my upper back gets tight from reading, driving, or sleeping wrong.
This guide is not a medical prescription. I am not a doctor or a physical therapist. I am a guy who has worked with a good physical therapist for years and learned what actually helps. If your pain is sharp, shooting, or getting worse, check with a professional before you roll anything. For everyday stiffness, though, a foam roller is one of the simplest things you can use, and the 321 STRONG is the one I reach for most often.
The roller I keep beside the couch for stiff mornings
The 321 STRONG Foam Roller has a patented 3-zone surface that lets you pick how much pressure you want. It is firm enough to actually work, but not so hard that you dread using it. Check today's price on Amazon and see if it fits your routine.
Amazon Check Today's Price on Amazon →Step 1: Set Up on the Floor With Your Knees Bent
Find a spot on the floor with enough room to lie down. A yoga mat helps if you have one, but a carpeted living room floor works fine. I usually do this in my garage gym on the mat, but I have also done it on the living room rug while Diane watches TV. The floor is better than a bed. A bed is too soft and the roller sinks in, which means you get less pressure and less benefit. I learned that the hard way one Sunday morning when I tried to roll on the mattress and spent the next hour feeling like I had accomplished nothing.
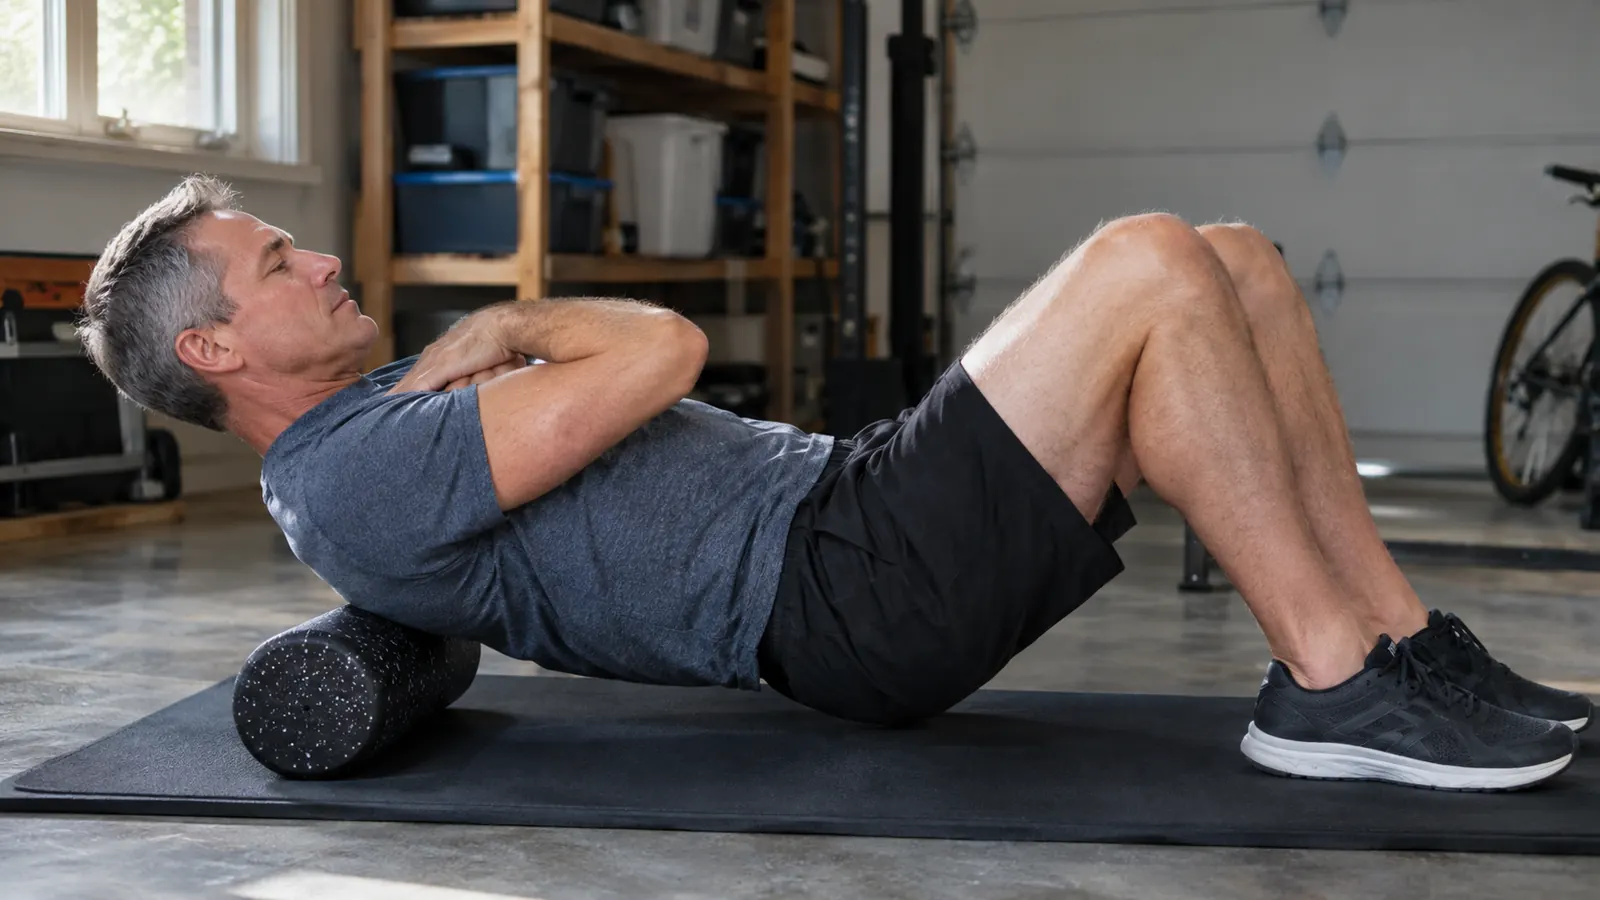
Sit on the floor with the 321 STRONG roller behind you, then lie back so the roller sits under your upper back, roughly at the level of your shoulder blades. Keep your knees bent and your feet flat on the floor. That gives you a stable base and keeps your lower back from arching too much. If you have a sensitive lower back like mine, you want to protect it while you work on the upper part. I keep my feet about hip-width apart and press them down firmly, which takes a surprising amount of strain off my lower back.
Your head should be supported by your hands or by your arms crossed over your chest. Do not let your head hang back unsupported. That strains the neck, and neck strain is the last thing you need when you are trying to loosen up. Cross your arms, tuck your chin slightly, and get comfortable before you start moving. The first time I did this, I let my head drop back and felt a pinch in my neck within ten seconds. Now I set my arms first and adjust everything else around that.
Step 2: Start at the Top and Roll Slowly Down
Begin with the roller under the top of your shoulder blades, near where your neck meets your back. Press down gently and roll slowly toward the middle of your back. Slow is the key word. I used to rush this and roll back and forth like I was kneading bread dough. It felt productive but it did not do much. Slow rolling gives the muscle time to respond. I time myself by breathing now: one slow roll down over four breaths, then a pause, then four breaths back up.
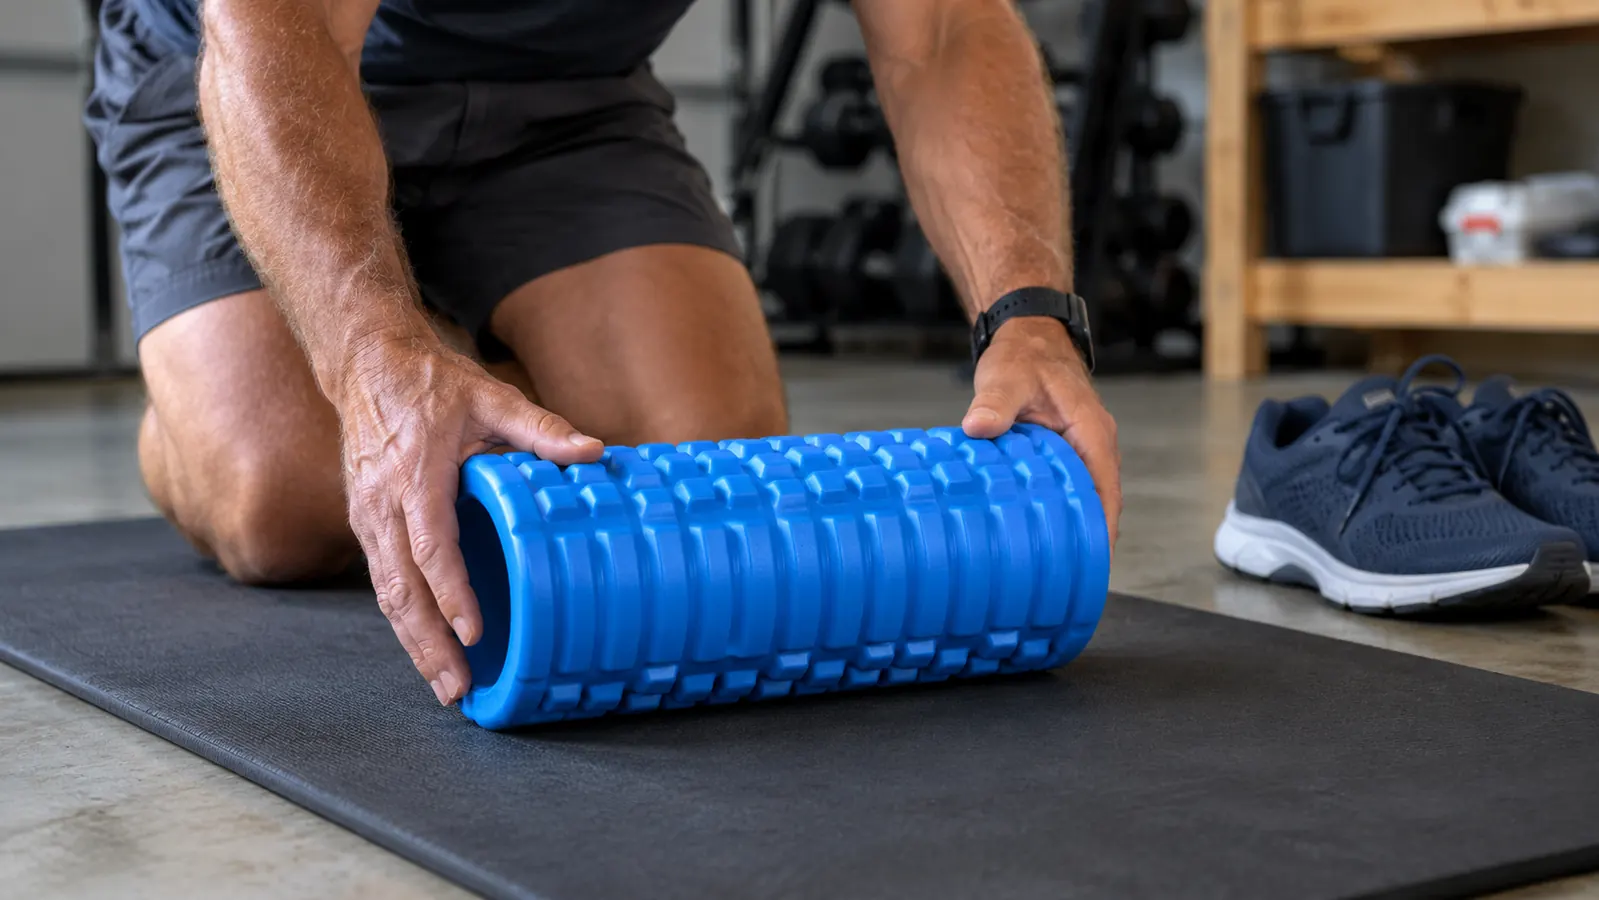
The 321 STRONG roller has three zones: a smooth section, a medium textured section, and a firmer textured section. For the first pass, use the smooth or medium zone. You can rotate the roller to switch zones without getting up. That is one of the reasons I like this roller. Some rollers give you one surface and that is it. This one lets you dial in the pressure as you go. On a cold February morning when everything feels tight, I start on the smooth zone. By the afternoon, when I have moved around a bit, the medium zone feels fine.
Roll from the top of the shoulder blades down to the middle of the back, then back up. Do that for about 30 to 45 seconds. Keep your abs gently engaged and do not let your lower back arch. If you feel a sharp pain, stop. Dull muscle soreness is normal. Sharp pain is a sign to back off or check with a professional. I have had days when the first pass felt awful and I almost quit. I have learned to give it three slow passes before I decide whether it is helping.
Step 3: Pause and Breathe on the Tight Spots
When you find a spot that feels especially tight, stop rolling and just rest on that spot. Let your body weight press into the roller. Breathe slowly and deeply. I know it sounds too simple to work, but holding pressure on a knot while you breathe is the part that actually loosens things up. My physical therapist calls it letting the muscle 'talk back.' The first time she said that, I laughed. Then I tried it, and I stopped laughing.
Stay on the spot for 20 to 30 seconds. You should feel the pressure ease a little as you breathe. If it does not ease, shift your weight slightly or move to a different zone on the 321 STRONG. The firmer textured zone gives more pressure. The smooth zone gives less. Having the choice matters more than you would think, especially on days when your back is already sore. I keep a mental note of which zone I used last time so I can adjust before I even lie down.
Do not bounce on the spot. Bouncing is a common mistake and it can bruise the muscle or make it tighter. Just hold still, breathe, and let the roller do the work. If you are not sure how much pressure to use, start lighter than you think you need. You can always add more on the next pass. I count my breaths instead of watching the clock. Twenty seconds is about six slow breaths for me, and that keeps me from getting up too soon.

Step 4: Work the Sides and the Shoulder Blades
The middle of your back is only part of the story. A lot of upper back stiffness lives along the sides of the shoulder blades and in the muscles between the spine and the shoulder blade. To reach those, angle your body slightly to one side and roll along the outer edge of the shoulder blade. Keep your arm crossed or reach it across your chest to open up the area. I angle about thirty degrees, which puts the pressure right where I need it without rolling onto the bone.
This part can feel more intense because you are putting more weight on a smaller area. That is fine. Just go slow and keep breathing. Switch sides and give the other side the same amount of time. I try to keep it even so one side does not end up looser than the other. Uneven tightness is how you end up with a new ache somewhere else. I learned that after a long drive to Ohio last spring when I only worked the right side and spent two days with a grumpy left shoulder.
If you have a specific spot that has been bothering you for weeks, you can also use the roller vertically along your spine, but be careful. You want the roller on the muscle, not directly on the bones of the spine. The 321 STRONG is a medium density roller, which means it is firm enough to be effective but not so hard that it feels like a punishment. That balance is why I trust it for this kind of work. I have tried harder rollers that left me bruised and softer ones that felt like rolling on a pool noodle.
Step 5: Finish With a Gentle Stretch and Some Movement
After you roll, do not just jump up and go about your day. Give your back a minute to settle. Sit up slowly and do a simple stretch: clasp your hands in front of you, round your back, and reach forward. Hold for 20 seconds. Then do the opposite, open your chest and look slightly up. That combination, roll then stretch, is what makes the loosening last longer than rolling alone. I do the stretch on the mat before I stand up, because standing too fast after rolling makes my back complain.
Then move. Walk around the house, reach for something on a high shelf, or do a few gentle arm circles. Movement tells your muscles that the old resting tension is not needed anymore. I have found that a short walk after rolling does more for my back than an extra five minutes on the roller. On days when I roll in the garage, I walk a loop around the block before I come inside. It takes about eight minutes and it seals in the loosening.
How often should you do this? For everyday stiffness, once a day is plenty. On bad days, you can do it in the morning and again before bed. The 321 STRONG roller is easy to keep nearby. Mine lives beside the couch, which means I actually use it. A tool that is buried in a closet is a tool that does not help. I have owned rollers that ended up under the bed within a month. This one has been beside the couch for over a year.
What Else Helps
A foam roller is a good start, but it works better when it is part of a small routine. Heat before rolling can loosen the muscle and make the pressure more comfortable. I use a heating pad for ten minutes before I roll on cold mornings. Ice after rolling can help if you have been overdoing it, but I rarely need it for everyday stiffness. On the days I skip the heat, I notice the difference within the first pass.
Posture matters too. I spent 27 years carrying mail and I know how easy it is to hunch forward. When I catch myself slouching in the recliner, I sit up, roll my shoulders back, and take a few deep breaths. It sounds small, but it adds up. And if you sit at a desk, get up every hour, even if it is just to walk to the kitchen and back. I set a timer on my phone for this, because I will not remember on my own once I get into a book.
I also keep a lacrosse ball for the spots the roller cannot reach, like the very top of the shoulder near the neck. But the roller handles most of my upper back, and the 321 STRONG is the one I recommend to friends who ask what to buy. It is not the cheapest roller on Amazon and it is not the most expensive. It is the one that gets used, because the three zones make it comfortable enough to reach for on a regular day. That regular use is what has kept my upper back from taking over my mornings.
The 321 STRONG is the roller I keep beside the couch, and that is the real test. A tool you actually use beats a fancier tool you have to dig out of a closet.
Give your upper back five minutes tonight
You do not need a gym membership or a fancy routine. You need a roller that is comfortable enough to use and firm enough to work. The 321 STRONG Foam Roller has been that roller for me. Check today's price on Amazon and see if it earns a spot next to your couch.
Amazon Check Today's Price on Amazon →